
A subdomain is a separate section of your website with its own name — like blog.yourdomain.com or shop.yourdomain.com. It is free, takes a minute to create, and is perfect for a blog, a store, or a test version of your site.
✅ Before you start
- Log in to cPanel
- Decide the subdomain name — short and clear wins (blog, shop, app, test)
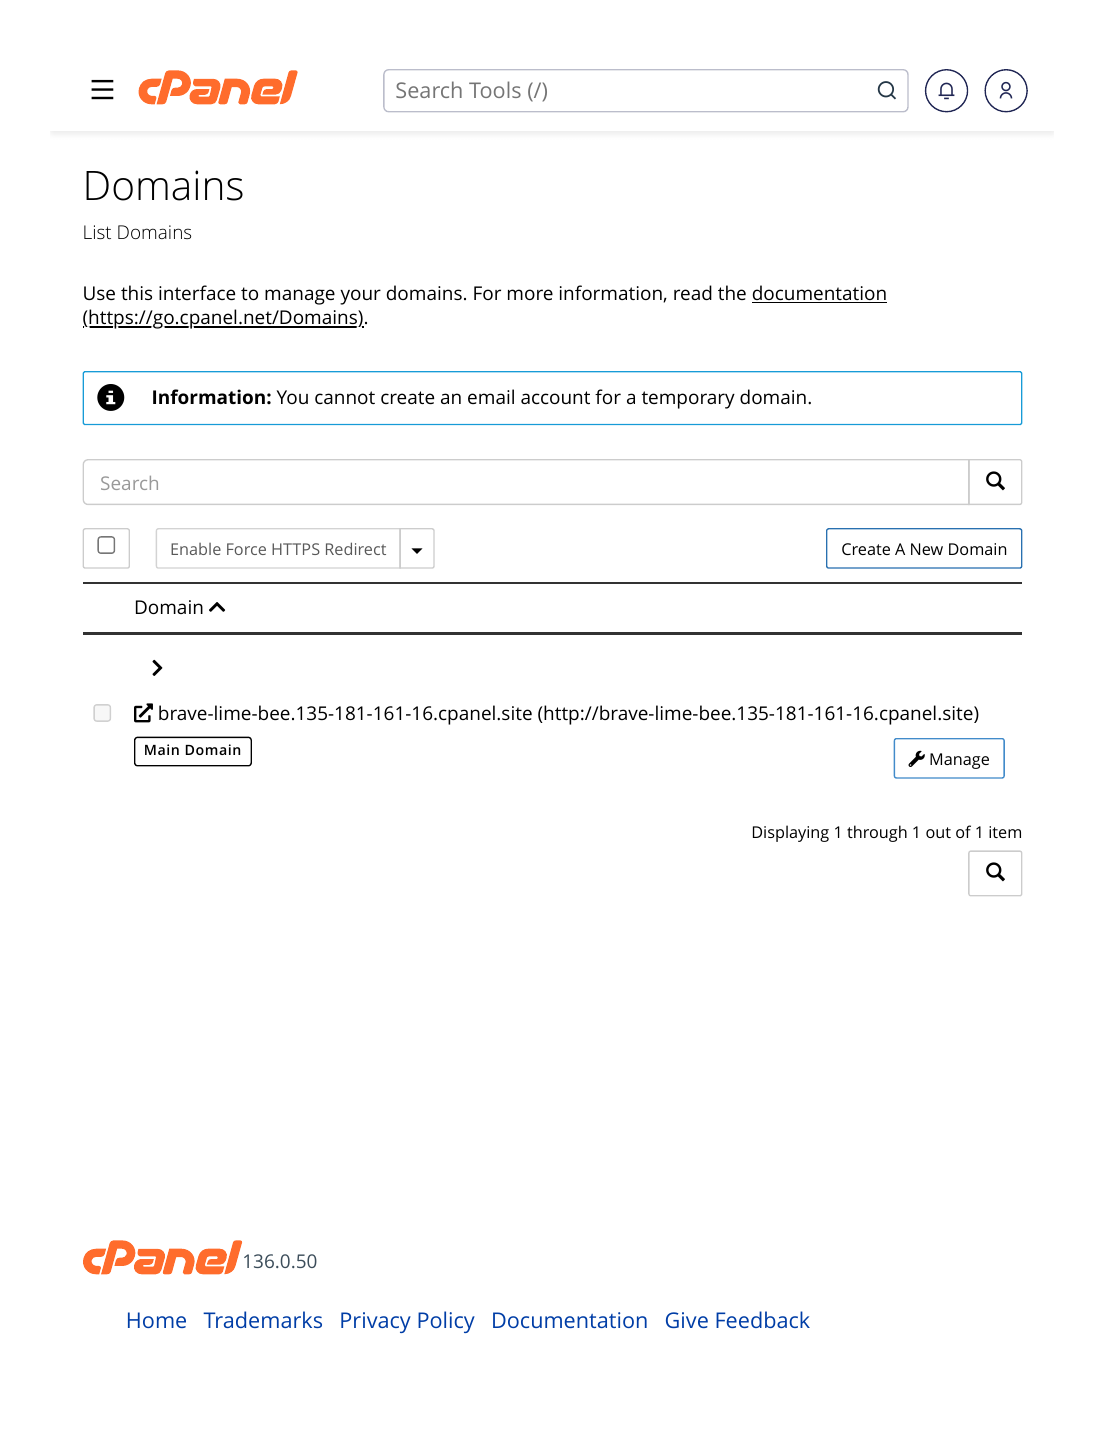
Steps
- Log in to cPanel and scroll to the Domains section.
- Click "Domains".
- Click "Create a New Domain".
- Type the full subdomain — for example: blog.yourdomain.com
- Choose its folder (document root) — cPanel suggests one with the same name. Keep it, unless you need the subdomain to show an existing folder.
- Click "Submit".
✅ Result: Your subdomain is created with its own folder. Put files in that folder (or install WordPress there with Softaculous) and the subdomain starts working — usually within a few minutes, because the DNS record is created automatically.
Popular uses: a test subdomain to try changes safely before touching your live site, a blog on its own install, or an app subdomain for a web application.
⚠ Common mistakes & fixes
- Subdomain opens but shows an empty/index page: there are no website files in its folder yet. Upload an index file or install WordPress there.
- Typing only "blog" instead of the full name: enter the complete subdomain — blog.yourdomain.com — so it is created under the right domain.
- Deleting the folder but not the subdomain: remove the subdomain itself from the Domains list, otherwise leftovers can cause conflicts later.
Related articles
- How to Add Another Website (Addon Domain)
- How to Install WordPress in 1 Click
- How to Activate Your Free SSL Certificate