
A cron job runs a command or script on your hosting automatically, on a schedule — every hour, every day, whenever you set. WordPress sites, shops and many apps need one to stay healthy (for example, WordPress has its own built-in tasks that work better with a real cron job).
✅ Before you start
- Log in to cPanel
- Know the command to run — your app or plugin usually gives you the exact line to use
Steps
- Log in to cPanel and scroll to the Advanced section.
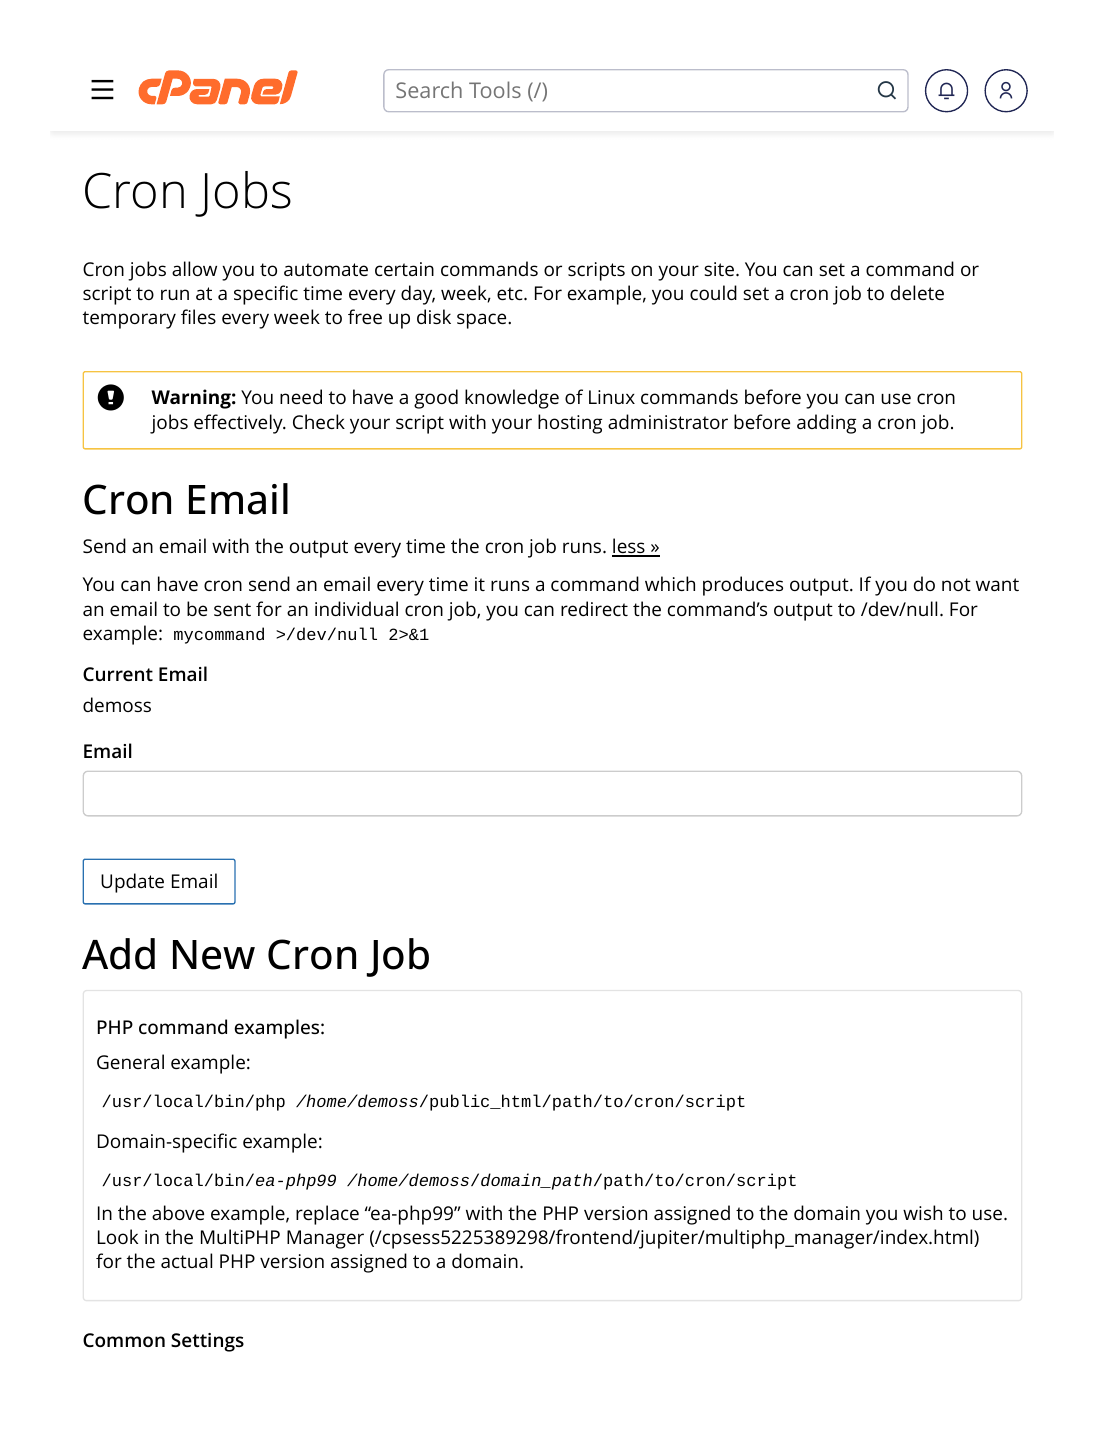
- Click "Cron Jobs".
- (Recommended) Set a Cron Email at the top — cron sends the command's output there, which helps you spot errors. Leave it empty later if the emails annoy you.
- Choose the schedule under "Add a New Cron Job" — use the Common Settings dropdown (for example "Once Per Hour" or "Once Per Day"), or type your own minute/hour/day values.
- Paste the command. Example for a WordPress site:
php -q /home/yourusername/public_html/wp-cron.php
Replace "yourusername" with your own cPanel username and adjust the path if WordPress is in a subfolder. - Click "Add New Cron Job".
✅ Result: The job appears in the "Current Cron Jobs" list and will run automatically on the schedule you set. You can edit or delete it from the same list at any time.
⚠ Common mistakes & fixes
- Running a job every minute "to be safe": a heavy script every minute can hit your account's resource limits. Most apps are happy with every 15–60 minutes — follow the app's recommendation.
- Wrong path in the command: the most common failure. The path must be the full server path — check your home directory name on the cPanel home page sidebar.
- No output and no error: add your email in the Cron Email field and wait for the next run — the output email tells you exactly what happened.
Related articles
- cPanel Tour: Understanding the Interface
- Fix: 503 Error / Resource Limit Reached
- How to Update WordPress Safely