
An email like [email protected] makes your business look established — a Gmail address on a business card doesn't. Creating one on ZedgeHost takes about two minutes in cPanel.
✅ Before you start
- Log in to cPanel
- Your domain should be pointed to our nameservers (ns1.my.zedgehost.com / ns2.my.zedgehost.com), so email actually arrives here
- Decide the address name: common choices are info@, sales@, support@, or yourname@
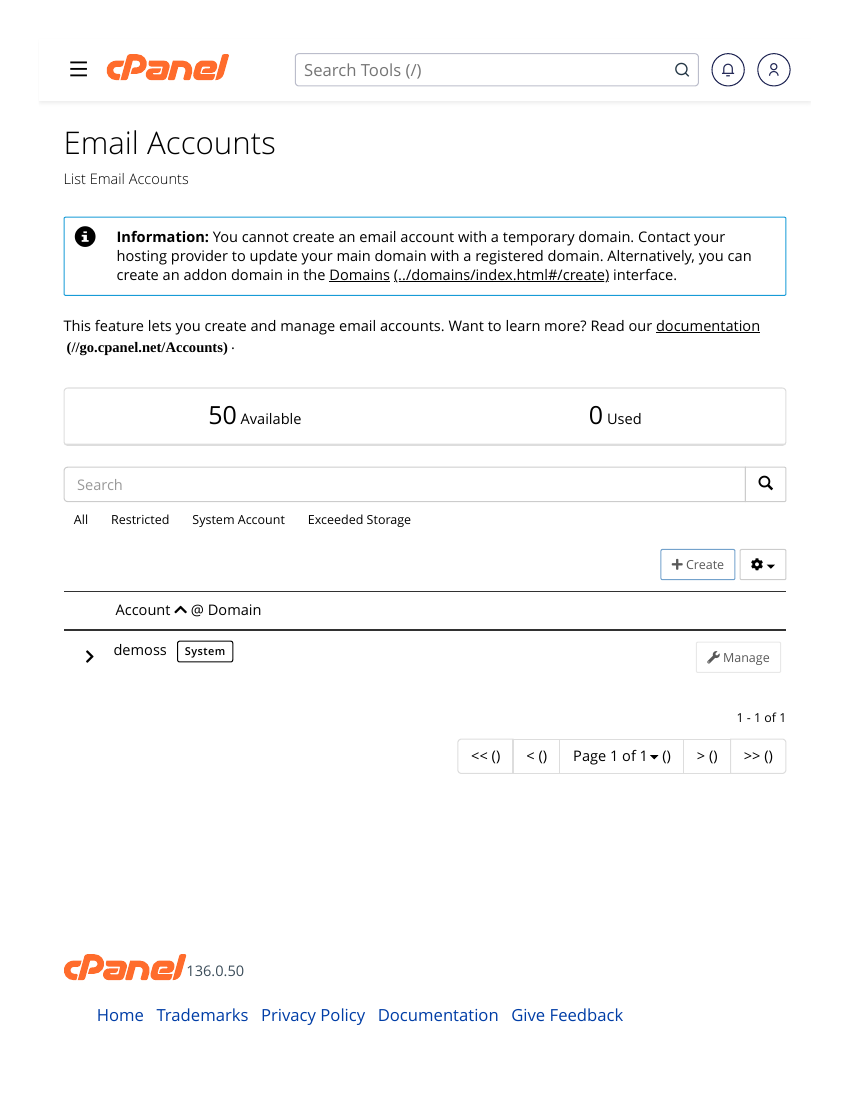
Steps
- Log in to cPanel → Email section → Email Accounts.
- Click "Create".
- Choose the domain (if you have several) and type the username — the part before the @.
- Set a strong password (or click Generate for a random one — save it somewhere safe).
- Set the storage space (quota) for this mailbox — you can increase it later any time.
- Click "Create".
✅ Result: Your new email address is live. Open it right away: Email Accounts → Check Email next to the new account opens Webmail — or set it up on your phone (see "How to Set Up Your Email on Mobile & Outlook"). Send yourself a test email from another address to confirm it arrives.
Tip: create separate addresses per role (sales@, accounts@) rather than sharing one inbox — when staff changes, you change one password instead of everyone's.
⚠ Common mistakes & fixes
- Account created, but no email arrives: almost always DNS — the domain's MX records don't point here because the nameservers are still elsewhere. Point the nameservers to us (or ask us to check).
- Tiny quota fills in a week: increase it under Email Accounts → Manage, and see the spam article if junk is the cause.
- Forgetting the email password is different: each mailbox has its OWN password — it is neither your cPanel password nor your client area password.
Related articles
- How to Access Webmail
- How to Set Up Your Email on Mobile & Outlook (IMAP/POP3 Settings)
- How to Change Your Email Password & Quota