
Almost every dynamic website needs a database — WordPress included. Before installing an app manually, you create three linked things: the database, a database user, and the permission joining them. The Database Wizard walks you through all three.
✅ Before you start
- Log in to cPanel
- Keep a note open — the app's installer will ask you for the exact database name, username and password you create here
Steps
- cPanel → Databases → Database Wizard.
- Create the database: type a name (e.g. shop) and click Next Step. The full name becomes something like username_shop — note it exactly.
- Create the database user: type a username and a strong password — use the generator and save it. Click Create User.
- Connect them: on the privileges screen, tick ALL PRIVILEGES and click Next Step.
- Done. Your note should now hold: database name, database username, and that password.
✅ Result: The database is ready. When your app asks for connection details, the database host is localhost — apps run on the same server as the database here.
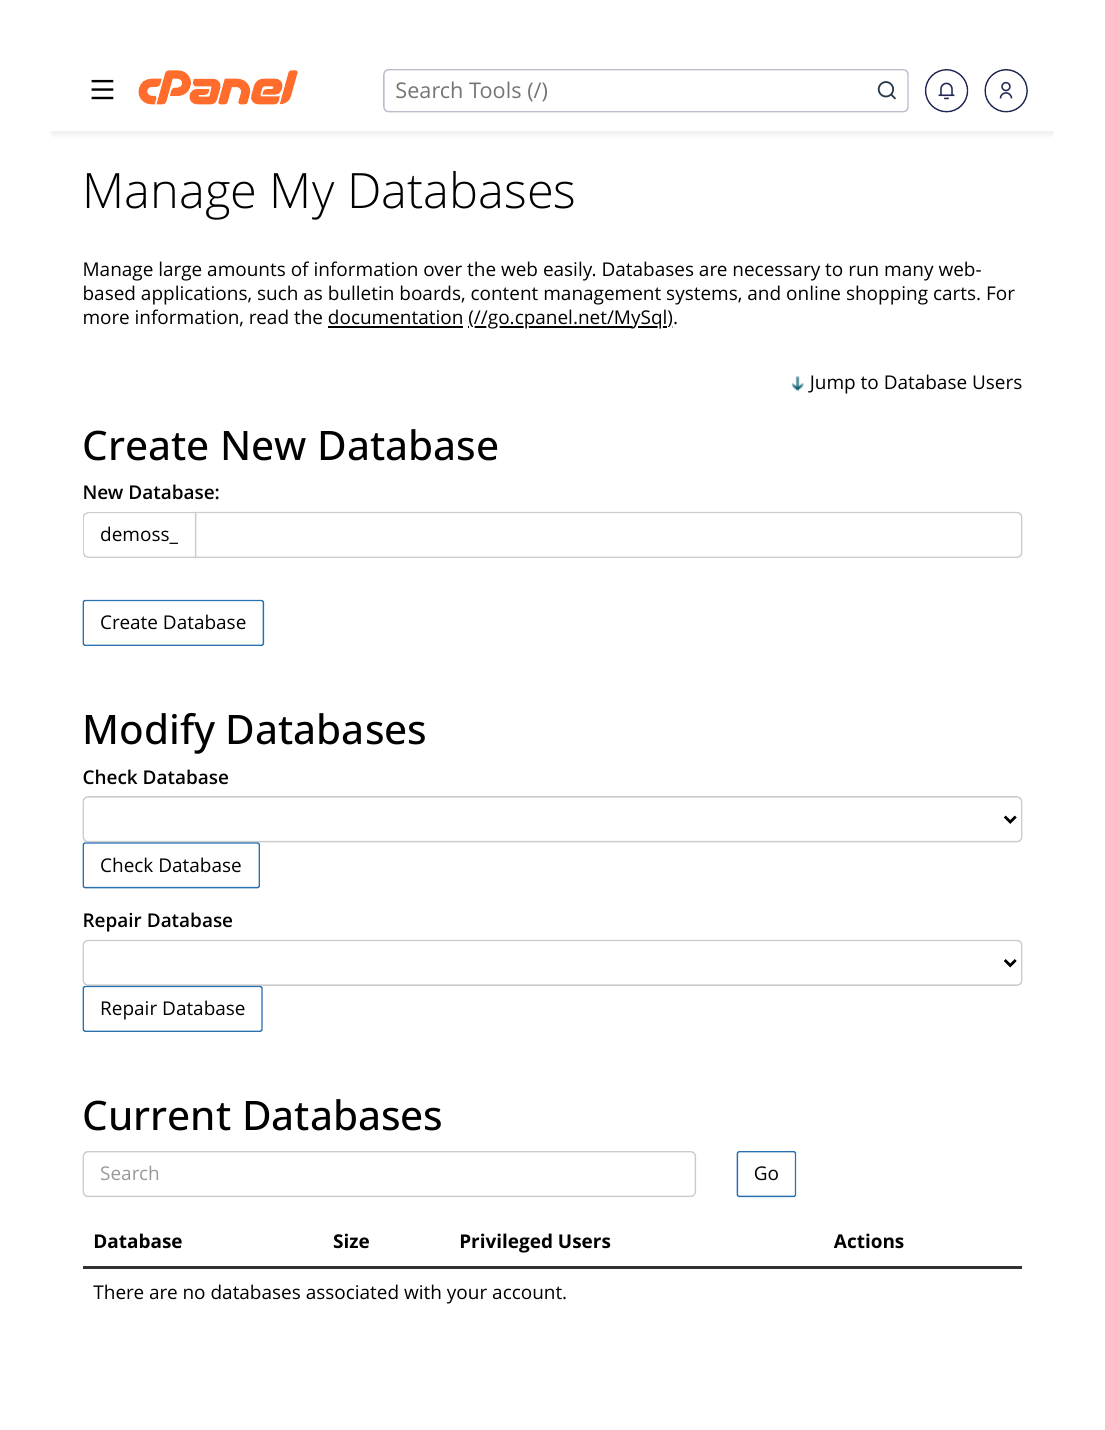
Managing later: the same Databases section lists everything under Manage My Databases — rename, check size, repair, and add or remove users from databases as your needs change.
⚠ Common mistakes & fixes
- Forgetting the prefix: the real names include your account prefix — username_shop, not just shop. Copy them in full into your app.
- Skipping the privileges step: a created-but-unconnected user gives the classic "Error Establishing a Database Connection". Re-run the connection step from Manage My Databases → Add User to Database.
- Reusing your cPanel password for the database user: don't — the database password ends up stored in website config files. Unique and generated, every time.
Related articles
- How to Use phpMyAdmin (Import & Export a Database)
- Fix: "Error Establishing a Database Connection"
- How to Install WordPress (Softaculous, 5 Minutes)