
phpMyAdmin is the control room for your databases — and its two most useful everyday jobs are Export (download a database backup as a file) and Import (bring a database file back in — the heart of every manual migration).
✅ Before you start
- Log in to cPanel → Databases → phpMyAdmin
- Your databases are listed in the left panel — click the right one before doing anything
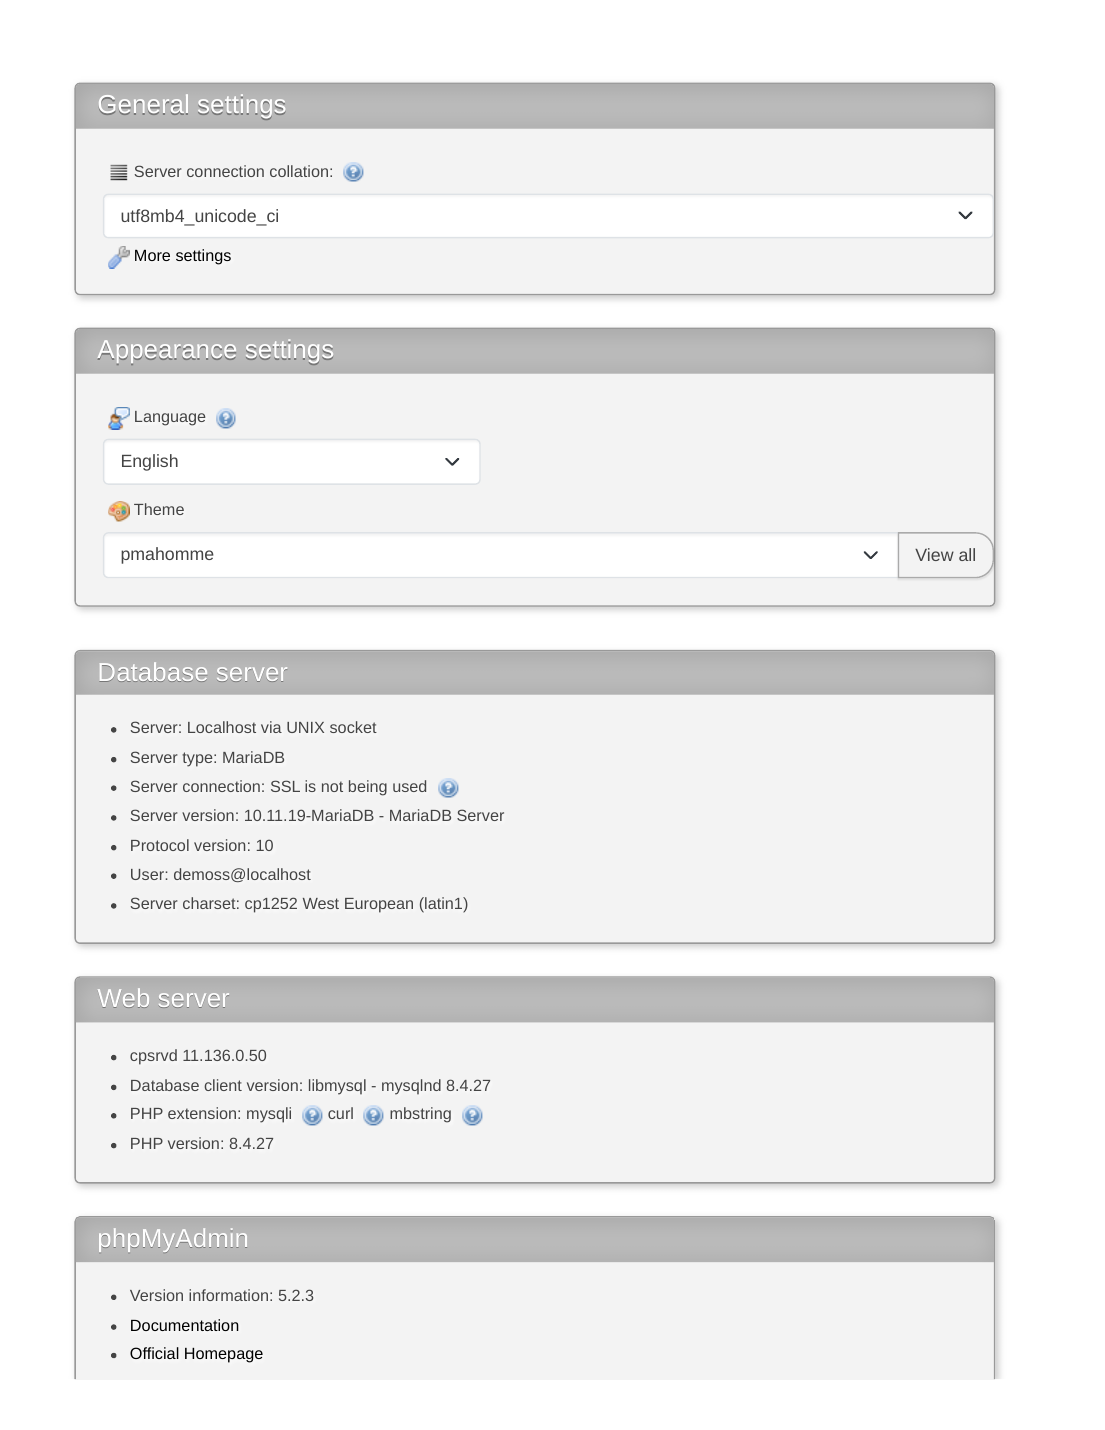
Export: download a copy
- Click your database in the left panel.
- Open the Export tab at the top.
- Choose "Quick" and format SQL.
- Click Export — a .sql file downloads. That file IS your database; keep it safe.
Import: bring a database in
- Create the empty target database first if it doesn't exist yet (Database Wizard guide linked below).
- Click the database in the left panel, then the Import tab.
- Choose the .sql file from your computer — a zipped .sql also works.
- Click Import and wait for the success message — the tables appear in the left panel.
✅ Result: Export gives you a complete portable copy of the site's data; Import restores or moves it into any database here.
⚠ Common mistakes & fixes
- "File too large" on import: PHP upload limits apply. Raise them first (cPanel → Select PHP Version → Options — see "How to Increase PHP Limits"), or import a compressed .sql.zip, which is much smaller.
- Importing into a database that already has tables: if the file doesn't clear old data first, you get duplicate-table errors and a mixed state. Import into a fresh, empty database for clean migrations.
- Editing tables by hand to "fix" something: one wrong value can break the whole site silently. phpMyAdmin is powerful — exports are your undo button, so export before any manual poking.
- A half-finished import after a timeout: import again into a fresh database rather than layering attempts over each other.
Related articles
- How to Create a Database + User (Database Wizard)
- How to Move Your Website to ZedgeHost (Migration Overview)
- How to Take a Full cPanel Backup